Hi Bloomers! 🪻
Welcome to winter peeps! With all of this cold, icy weather we’re having in the maritime provinces it’s been hard to think about gardening and also has me wishing for warmer weather to begin. This cold weather is not without it’s use though, for those of us with seeds that require stratification, these temps are very helpful to allow you the ability to use that cold to your benefit.
Cold stratification is a process that involves exposing seeds to cold temperatures to break down the seed coat and encourage germination. There are several ways to proceed to achieve the results you will get from this process and of course, following your seeds packaging is a safe bet, but being someone like me who wants an easier approach I am following tips from a YouTube gardener that I follow, to do mine in one batch outside.
To begin, I researched all of my flowers to see which ones would need and/or benefit from cold stratification and made my list to know where to start and help get plans (something that moving forward I will do when purchasing my seeds to limit the amount of extra work I need to do and also to allow me to have used them with my fall planting). When I had my list ready to go, I got my station set up, since it’s cold and I am working inside.
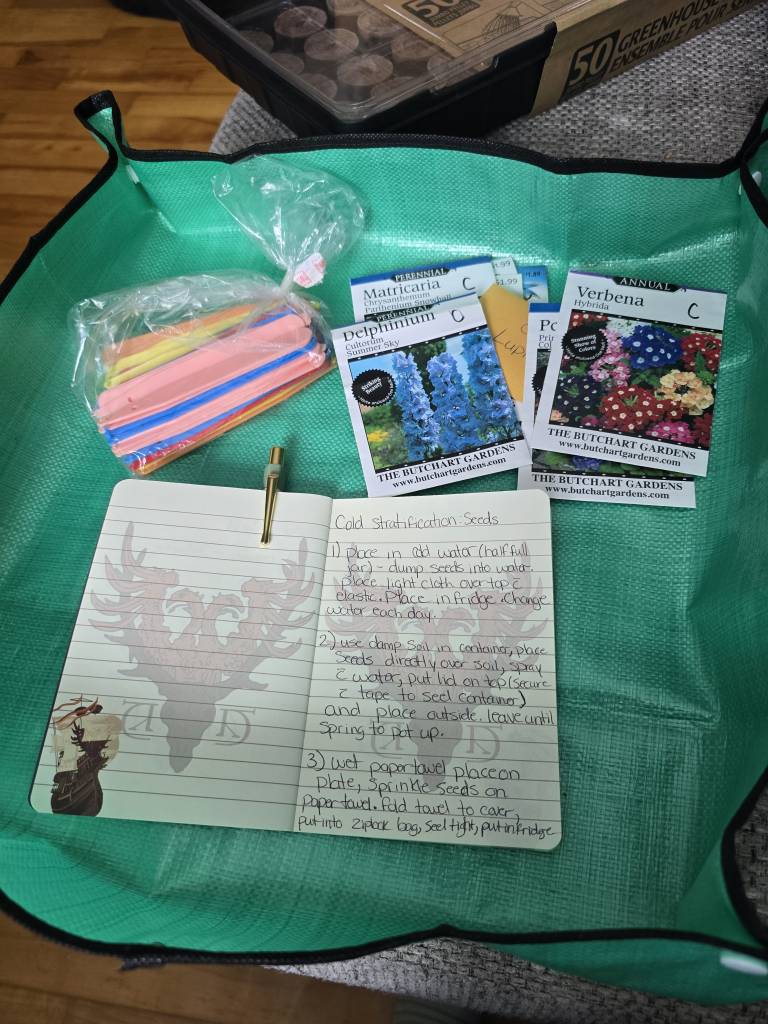
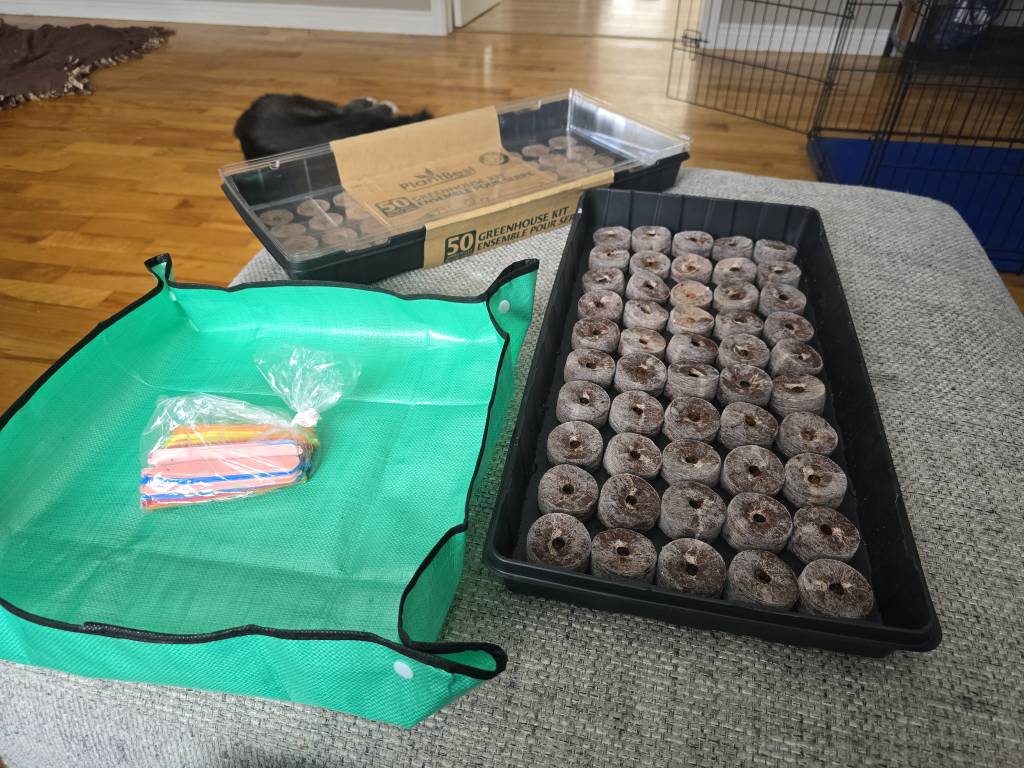
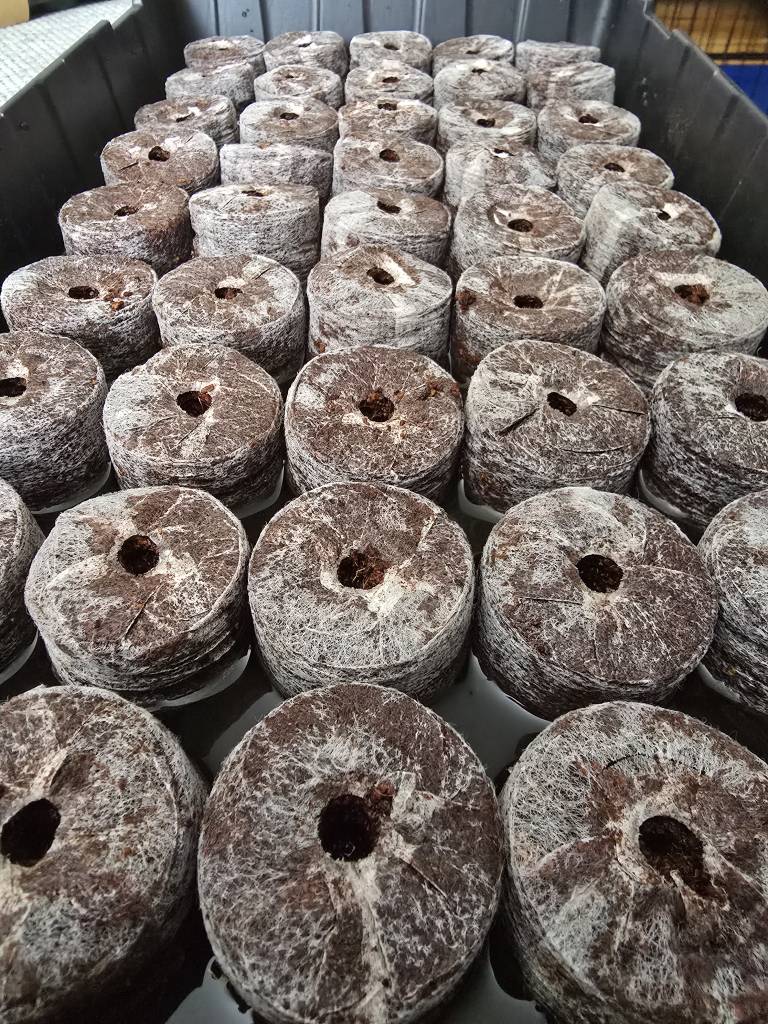
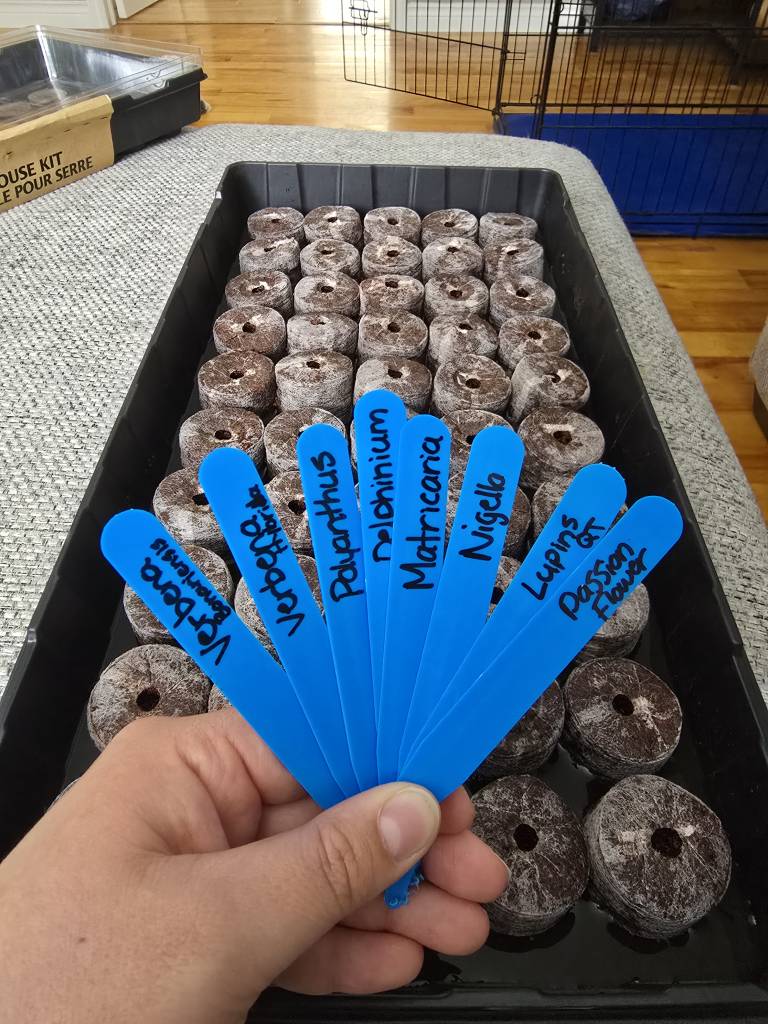
Once my station was ready and my seed binder at my side, I was ready to get going. For this version of cold stratification we want to dampen our soil sacks (or your container of soil), place one or two seeds in each sack relatively close to the surface but down far enough to have some light soil on top of the seeds.
To help keep your seeds straight and you with identifying them for planting purposes, I try my best to label the pods to let me know if some need to be brought in early to go into my greenhouse and begin germinating or stay out until they’re germinating in their current house.
When all of the seeds are in and rows labeled, put your lid on and tape it shut to secure (even if your lid clicks in place) the top and keep the lid to prevent upset and your seeds falling out. I used regular moving tape and some old duct tape I had laying around to keep the lids secure. The bin can go right outside (specific to the colder zones in the winter, I am personally located in zone 6b) and just sit on your deck or balcony, whatever space you have that you can keep an eye on it to see if anything sprouts early and ensure it’s not being tossed around too much by winds or extreme weather.
Since we are in an area that gets a fair amount of wind on our back deck, I opted to place the trays into the BBQ for the time being, seeing as it’s not getting much use these days, haha!
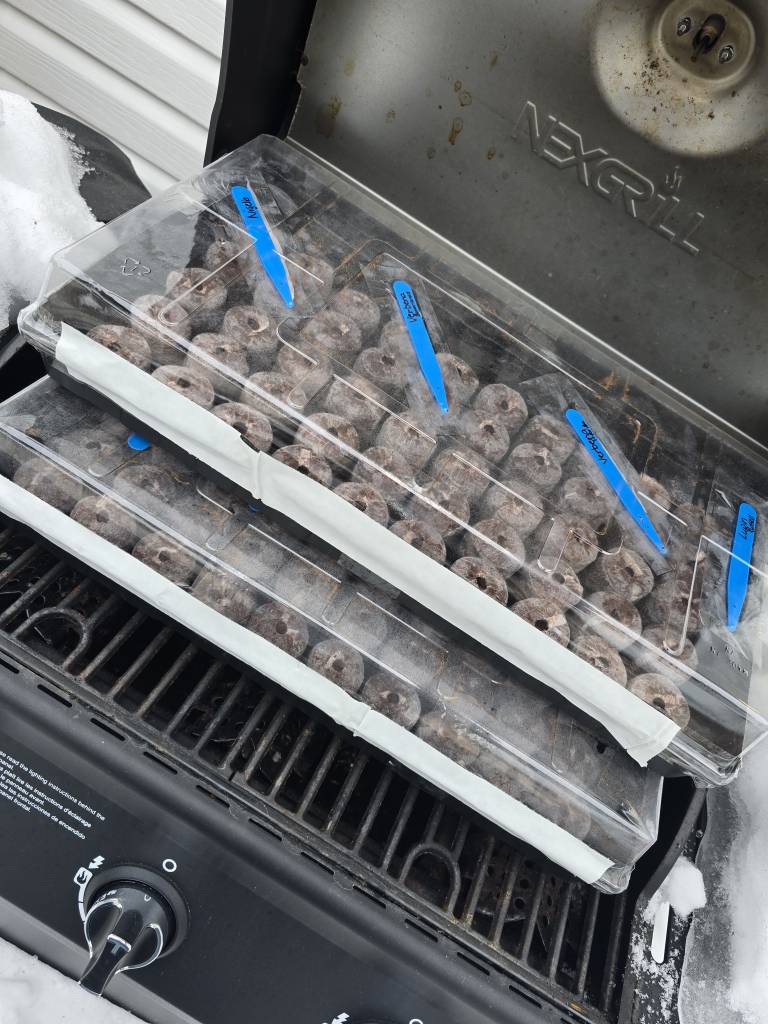
This will allow the seeds to stay plenty cold and also keep them sheltered from any major winds to upset them in their sacks.
While I could have done this back in the fall when I did my fall planting, firstly, I didn’t think of it back then because we had just finished planting roughly 980+ bulbs and various other seeds, I also didn’t realize these seeds would thrive and have better germination rates with a round of cold stratification before their growing season.
Knowing now, that I could have done it in the fall probably wouldn’t have changed my outcome regardless, as I have been itching to start my other seedlings and have some small semblance of feeling ‘in the garden’ for a couple months now. This was fun and new for me and gave me the scratch I was looking for!
With these seed babies tucked into their ice cave for several weeks i go back to planning for spring and getting my indoor greenhouse ready to begin the other flowers, that aren’t direct sow and all of my veggie seedlings that will soon enough be time to start.
I hope you all continue to be safe and stay warm, catch yah’ later buds!
Alla Blooms 🪻